I’ve been wanting to start posting tidbits from a series of notes I have called Tactical Concepts. They use the Marine Cell model to talk about interesting solutions to interesting challenges. I get these challenges from all over, including my own head. I’m looking forward to sharing a lot of them. So here’s the first one.
During the learning process of Rome: Total War (thanks for the gift, Big Brother), the game presented me the instructional challenge of crossing a bridge. In order to proceed, I had to do it their way. I had my own ideas about how to cross. It is certainly not the only or always best way. It is simply one interesting way. Enjoy.
1) The Bridge
This is a bridge. The mission is to get safely from the south side (bottom side) to the north side (top side). If you have a choice in the matter (and when it comes to crossing bridges, you generally don’t), choose the side where the near side’s terrain elevation is higher than the far side. It’s a lot easier and safer for you to fire arrows down at them than it is for them to return fire. You’ll also have longer range, to boot.

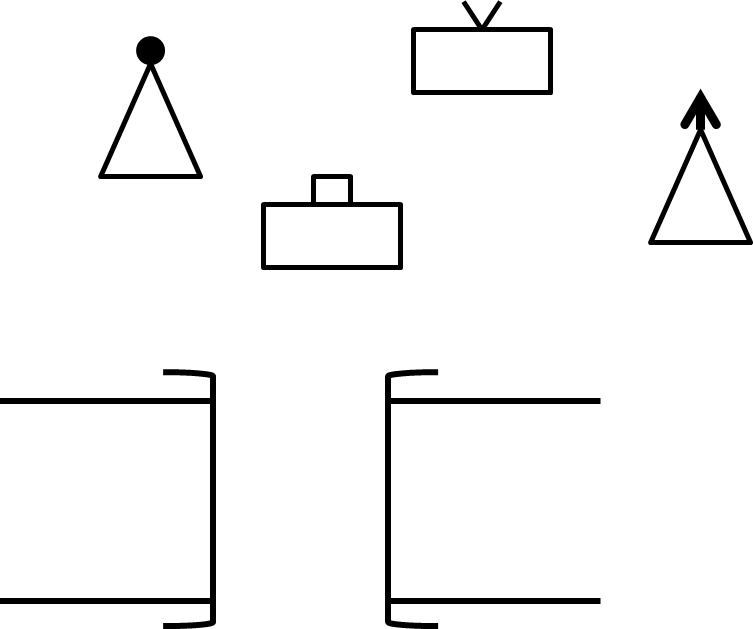
2) The Troops
We have four units to work with.

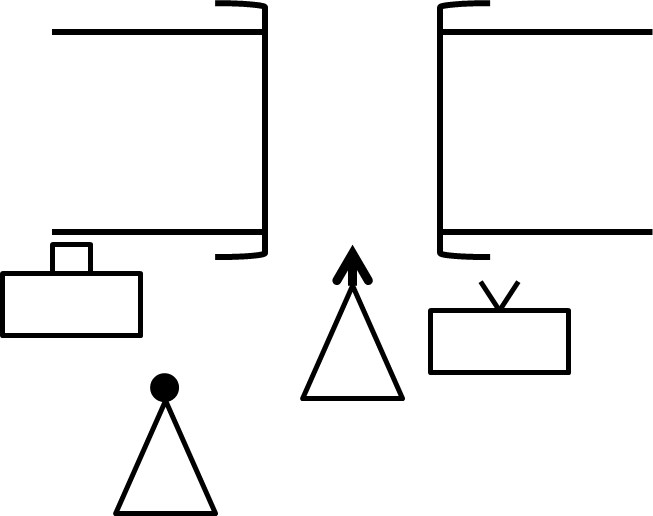
3) The Set-Up
Rush all four units to the bridge, though keep the EXC a little back. Move the FUS as close to the bank as it can get so that it can fire as far as it can. Ready ARR and INT for different options.
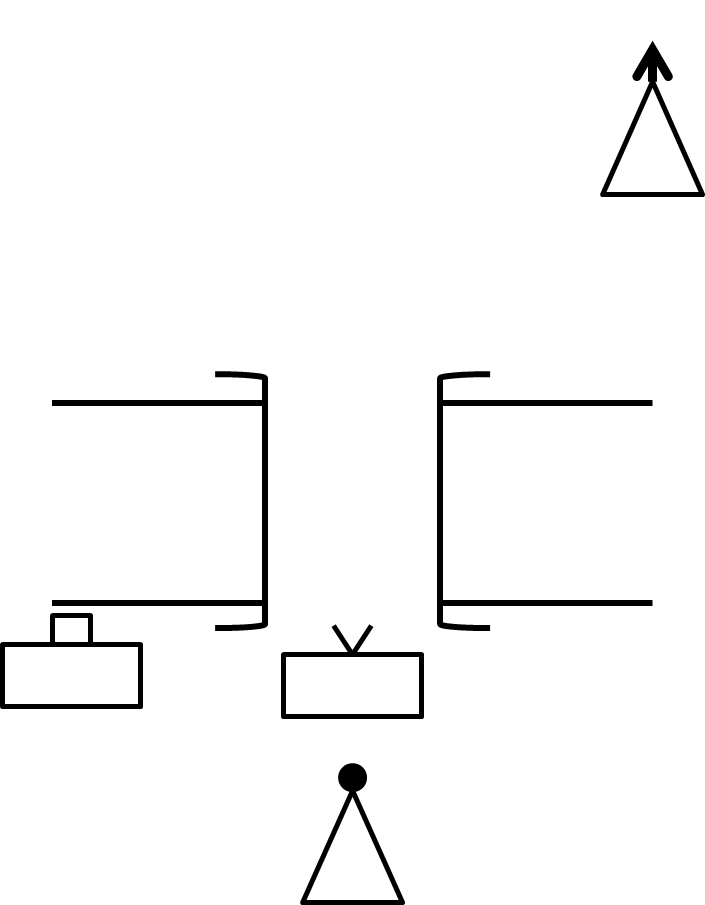
4) First Contact
If the enemy has arrived first, clog up the bridge with the ARR (or, better yet, leave them on the near side slightly askew so that any crossing enemy are forced to expose their left flank or slow down/halt the crossing of the rest of the unit). If the enemy has not arrived, charge the INT across as fast as they can go with orders to be a general murderous nuisance in the enemy’s rear. Stand by (prepare) the ARR to follow.
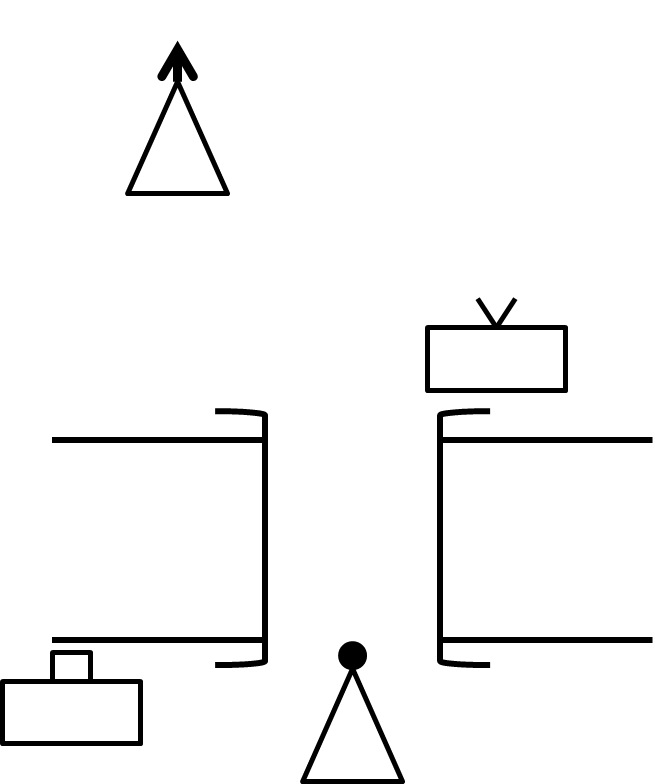
5) Foothold
As soon as the opportunity presents itself, march ARR across the bridge and claim the opposite side, leaving the west side of the bridge to be covered by FUS. Stand by EXC to follow.
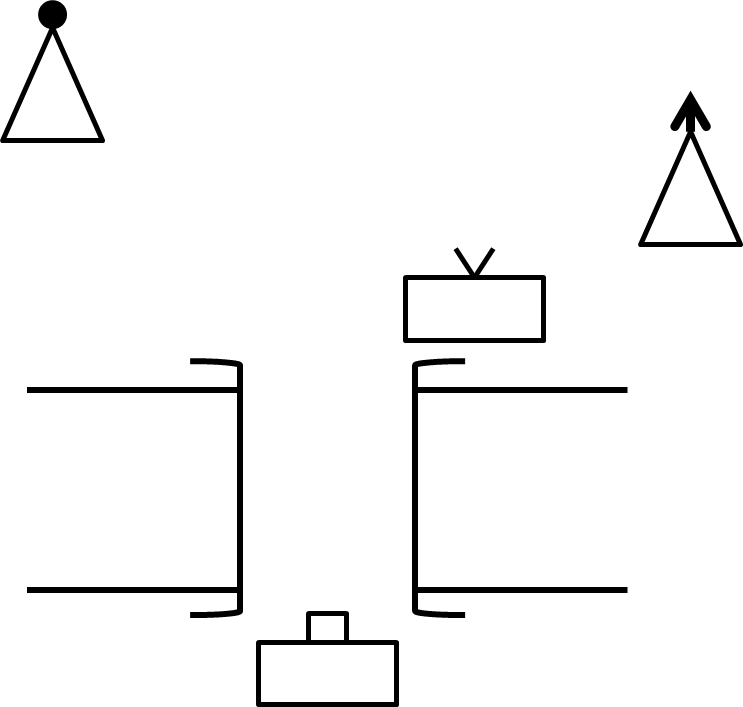
6) Shift
Get EXC across as soon as possible after ARR has crossed. EXC relieves INT and attacks based on ARR situation. If ARR is being attacked on the right, EXC moves behind and right to support them. If ARR is not, but INT is being pursued, intercede (act as friction by having INT draw pursuers near EXC). Stand by FUS to follow.
7) All Together Now
FUS crosses quickly and falls in behind/between the others. All advance.
That’s all for this one. If you had a hard time with the diagrams, I try to repost this with actual images of the units to make it more clear.
Try it out.
-CG