I got an assignment for my Architectural Structures class. I had to build a balsa wood bridge. I NEVER get an assignment like this. I think open assignments like this scare many of the people that often get into fields like this. But I love them.
The constraints were as follows:
• Less than 20 grams
• Less than 12 inches long
• Between 4 and 6 inches wide
• Less than 6 inches tall
Grading was based on how much it could support. The schema looked like this:
• A – 30 kilograms
• B – 25 kilograms
• C – 20 kilograms
As long as you showed up with a bridge, you got at least a C.
I realized that the intended structure was supposed to look something like this.
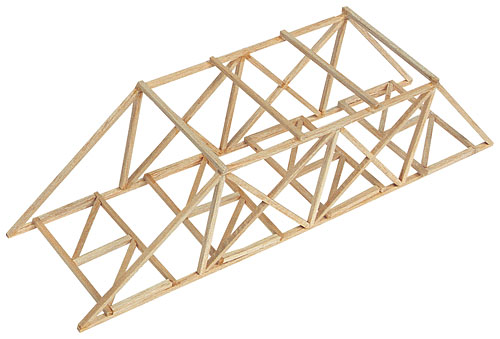
When I searched for this image, I came across a TON of awesome balsa bridging. Google it.
Of course that’s what everyone would (and did) do. A friend also recommended a model that he used to win a large competition in high school (where was this when I was in high school?). It was a very carefully planned structure, but still fundamentally like what I’d already seen. I knew it would work and work well. The thing is, I was really interested in testing something different.
I couldn’t bring myself to build something that had already been built. It’s part of that design flaw I talked about. Instead, I wanted to build a bridge that would have been almost impossible to design in 2D. I wanted to attempt to build two bridges. So I did.
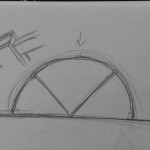
Bridge Number 1: Leaning Arch
This is the one I was really excited to make.
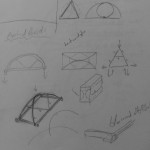
A few important things to note:
• The members were supposed to be dowels (circular cross-section instead of rectangular).
• The rectangle with the half-cylinders gouged out (along a curve, not in a straight line) are supposed to be the key at the top.
• This is actually how many tents work.
• Notice the view from the end that can be expressed as a simple triangle when drawing a free-body diagram.
• The diagonal members are optional and under tension. The way to affix them is the box with a cap in the right diagram.
I spent until 3am Tuesday morning trying to get this to work, but I just couldn’t do it. Partially because I’m just not that handy. Partially because I couldn’t get a hold of balsa dowels (only basswood and other mediums, which would be cheating, which someone did, probably without meaning to; apparently there are no balsa dowels for sale on the continental United States). Partially because balsa is very weak in shear and, even after soaking for an hour and a half, skinny and thick pieces alike snapped rather than substantially bend. I even tried putting little cuts along it in increments, ready to glue them, but that was a no-go as well. I had to get up in 3 hours and go to work. So I called it a night.
In retrospect, I suppose I could have cut a curve out of a plane (losing the benefit of the wood’s grain) and then glued it to an identical piece to double its strength. Then soak and bend a flat piece (which would have certainly yielded), and glued it to the top and bottom like a W beam (wide flange or “I” beam). That might have worked, but would have been another two hours to make. I pulled a lot of all nighters in spring (like one or two a week) and I was already hurting from staying up late the previous night. I didn’t want to start the practice this semester.
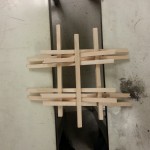
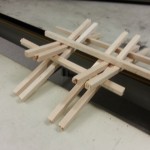
Bridge Number 2: Leonardo’s Bridge
You might recognize the name. This bridge was the inspiration for my Leonardo’s Bridge series. I like it because it doesn’t use any fasteners or glue. It’s held together completely by friction, tension, and compression. It works like chopsticks, simple and elegant. You don’t need specially cut pieces; just a bunch of pieces of the same length. You don’t need a degree to build it. You just need to know how to arrange the pieces. I’ve had a great way of using this elsewhere for a few years, but I guess that’ll be another egg I’ll sit on for a while.
Given that Option 1 didn’t happen, this is the one that I fielded.
-

- Witten Museum Example
-
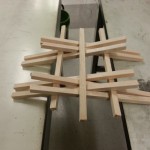
- My Bridge at Testing
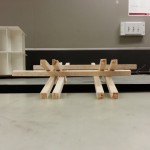
I used admittedly thick balsa members, but they are still balsa. They break as easily as any other. My engineer friend made an excellent recommendation that I double-up the longitudinal members, which I did. I also removed the member in the center that was supposed to even out the load. I thought we were loading bricks on top, not hanging weight from beneath. This would have created an imbalance (since I only had the one surplus member) and may have weakened the bridge.
It was able to take almost every weight available to drop in the bucket suspended from it. When it failed, it fell into a position that did not fail and then supported the rest of the weight available. Even pushing down on it with some force didn’t cause the failure to go completely. Only two other bridges were comparable. One was made of basswood instead of balsa. The other was made by a cool engineer taking the class with me (the guy who made the double-up recommendation). His was very well made and didn’t yield at all. Everyone else’s crumbled utterly (sometimes explosively) sooner or later. It was fun all around and I think we’d all do it again.
One More
I found out from my statics professor (who is also my honors project faculty adviser) that he taught the same class at the same time on a different campus and their bridges were twice the size of ours (because size matters sometimes). Their restriction was Popsicle sticks and Elmer’s glue. He told me this at the start of class and I could barely think of anything else for the entire two hours. This is what I thought of.
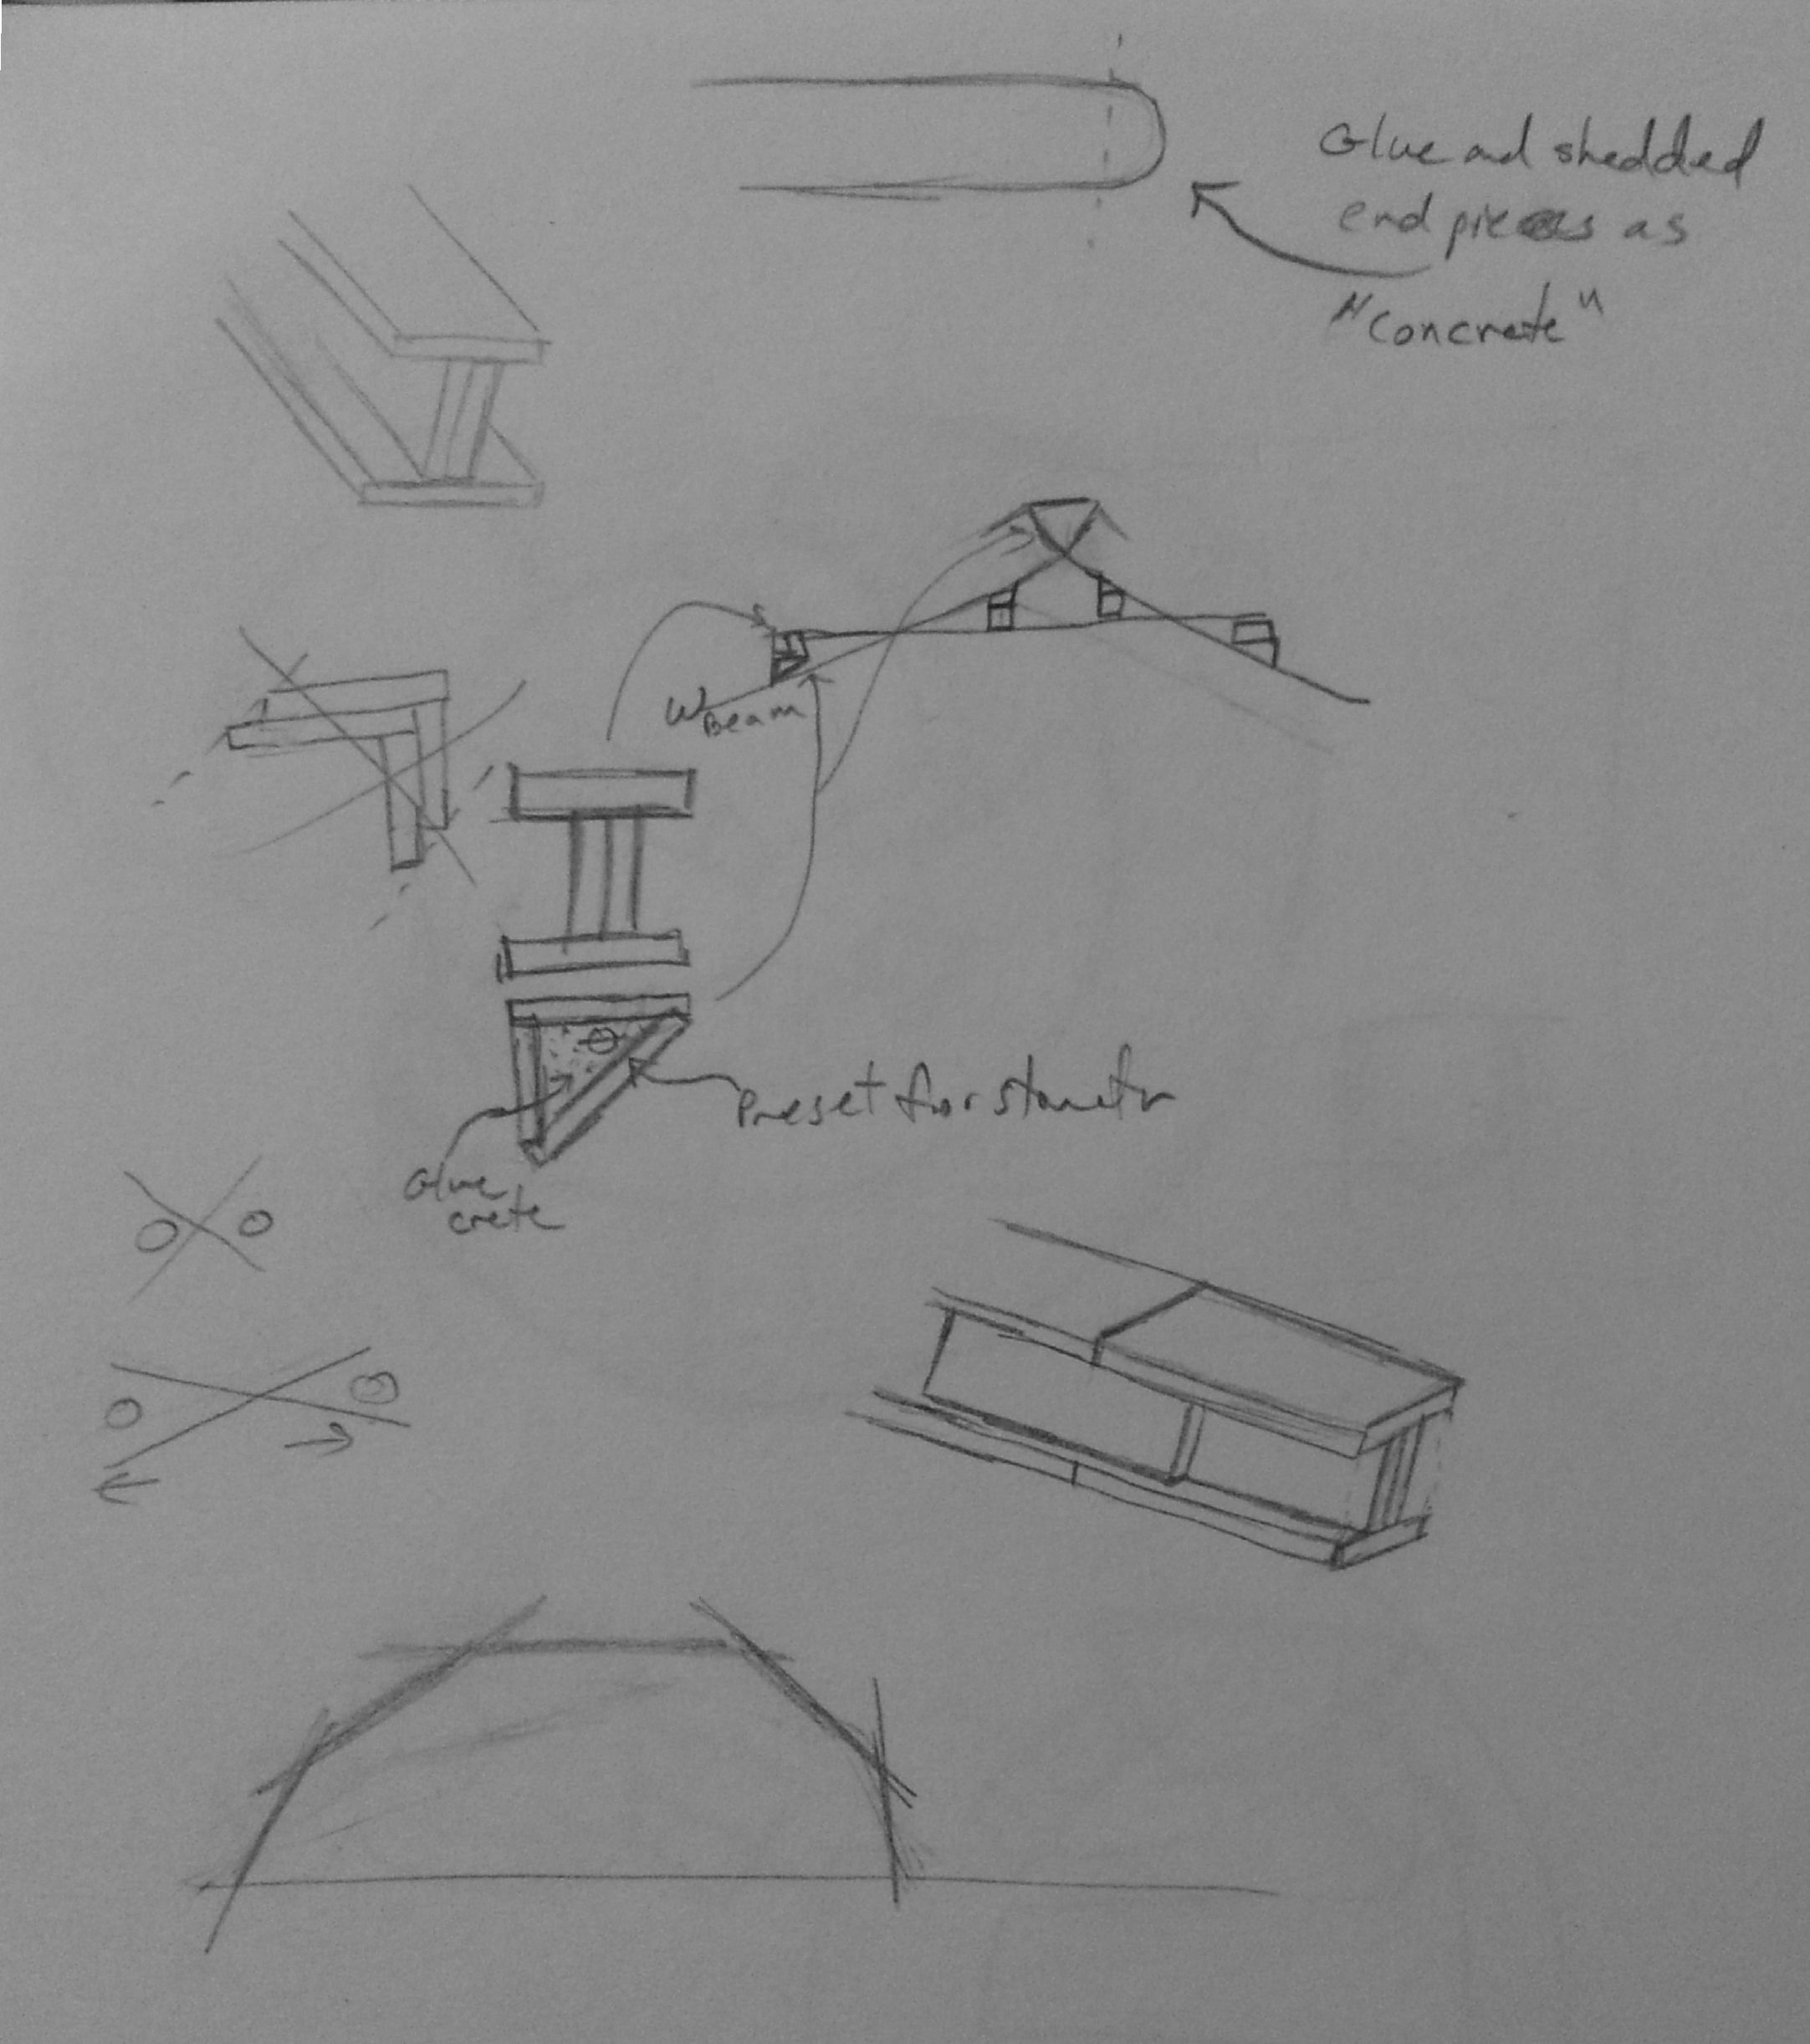
Some notes:
• Although I have drawn five bridge sections (so that the reactions with the ground strictly vertical), I think I would only do three or a shortened set of vertical members.
• The wide flange beams are constructed by cutting the ends off of Popsicle sticks to make them rectangular. Glue two together and then one on the top and bottom.
• Longer beams can be constructed by gluing a reinforcing band across either side of the seams.
• By grinding the cut-off ends in a blender and then mixing the shreds in a bowl with glue, a glue-crete can be made.
• The horizontal members can be supported by a glue-crete filled triangular construction (the flat cap isn’t necessary, a V is fine) and the W-beam.
• This same triangle can by used to cap each intersection (if the angle is 45 degrees).
• The road (which you are required to build in the other class) can be suspended by cotton thread at junctions.
If I decide to take the next class in this series (a 5-credit beast), he’s considered making the bridge part of the curriculum. It’s fortunate, then, that I’m already registered for it in spring.
Explore,
-CG
Nice work Guirro! Your passion for engineering has not cooled at all, I can see. Give my regards to your ladies!
Thanks, Andy! The trick is finding my dark little basement room to do it. I’ll pass around some hugs on your behalf!